Zombie Air Force missions and defenses
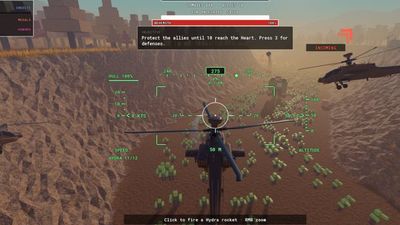
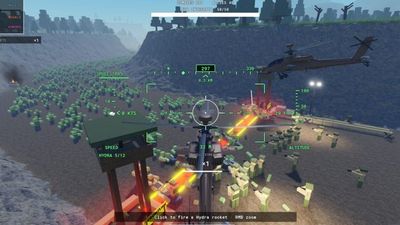
Missions are won by the objective, not the kill count. Place defenses on chokepoints before waves arrive, and fight Behemoths with rockets and airstrikes while the squad screens the horde.
Zombie Air Force structures its campaign as sections along a front line, and every section is a mix of attack objectives and hold-the-line objectives. This page breaks down the mission types, the defense system, and how Behemoth bosses change a fight.
How missions are structured
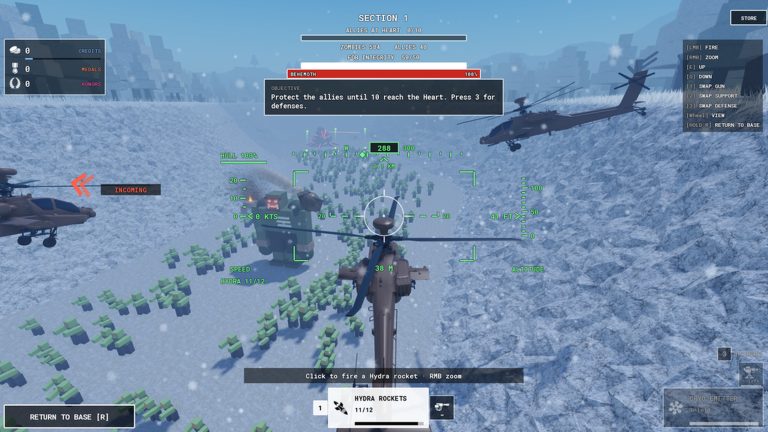
The HUD labels the campaign as sections — SECTION 1, SECTION 2 · THE PASS and onward — and each section contains multiple missions along the front line. The zombie horde pushes, you push back, and clearing a mission moves the line forward. Section names change with the terrain, which is how the game signals that you have entered a new environment with a new defensive layout to learn.
Objective types you will see
| Objective style | What the banner asks | How to play it |
|---|---|---|
| Escort / protect | PROTECT THE ALLIES UNTIL 10 REACH THE HEART | Clear the lane ahead of the convoy, place defenses on the choke point, do not chase stragglers |
| Road clearing | Keep a route open so vehicles (jeeps) can pass | Prioritise the road, chain gun the shoulders, rockets on the pack |
| Hold the line | Defend a fixed position through waves | Rotate defenses, repair at base between waves |
| Behemoth encounters | A giant zombie boss pushes the line | Rockets and airstrikes; call in support instead of soloing it |
The pattern behind all four is the same: the game wins when the horde reaches the objective, not when it reaches you. Flying a lap around the map killing zombies off-route is how squads lose.
The defense system
Defenses are the difference between holding a section and being overrun, and the game surfaces them at the moment they matter — objective banners tell you to press the defense key as pressure builds.
- Place early. A defense placed before a wave is worth several placed after it.
- Place on chokes. Zombies path toward the objective; the value of a defense is entirely about where the path narrows.
- Defense upgrades compound. If you like holding, the defense branch of the upgrade tree is a real strategy, not a trap.
- The Cryo Emitter is a system, not a grenade. It freezes everything around it in pulses and carries its own upgrade tree, which makes it the defensive playstyle's flagship tool.
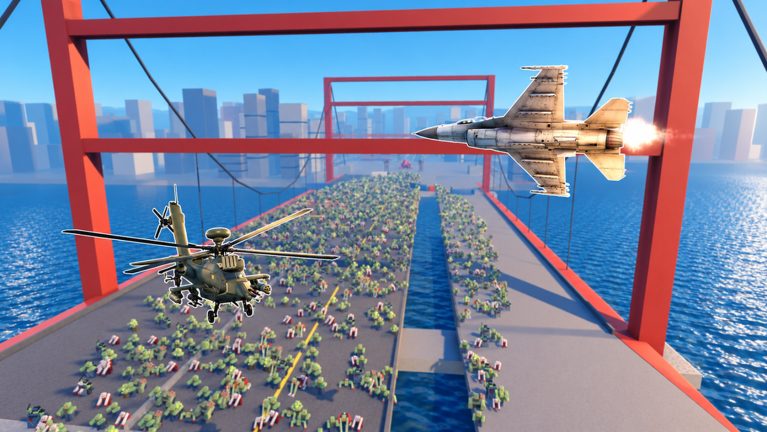
Behemoths
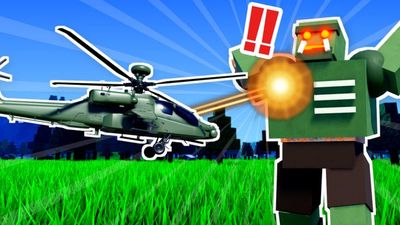
Behemoths are giant zombies that show up to smash a defensive line. Three things matter against them:
- Weapon choice — chain guns chip at a crowd; rockets and airstrikes are the damage that actually moves a Behemoth's health.
- Positioning — fight a Behemoth with the objective behind you, not beside you; its whole purpose is to force you off your best position.
- Squad focus — a squad that splits fire between the Behemoth and the horde loses the objective to the horde.
FAQ
How do you beat a Behemoth?
Rockets and airstrikes for damage, chain gun only for the zombie screen around it, and a squad that agrees to hit the same target. Solo Behemoth fights are a damage check you will fail until your upgrade tree carries you.
What ends a mission — kills or objective?
The objective, always. Score is a performance readout; the mission ends when the banner's condition is met (allies extracted, route held, or the wave survived).
Do defenses cost anything?
Defenses are part of your loadout and are placed on a cooldown during the mission, which is why the game prompts you to press the defense key as a wave builds rather than spamming every placement at once.